
Helm Crag | The Lake District
I said I wanted to witness more sunrises this year, so when Sarah messaged me asking if I fancied a sunrise walk, how could I say no? The forecast was looking good and I was eager to get back out in the hills again. If only I didn’t have to wait for weekends! We were unsure where to go and had a few locations in mind but because Helm Crag is only a short walk to the summit from Grasmere it would mean we would have the rest of the day left to do whatever we wanted, so it was perfect!
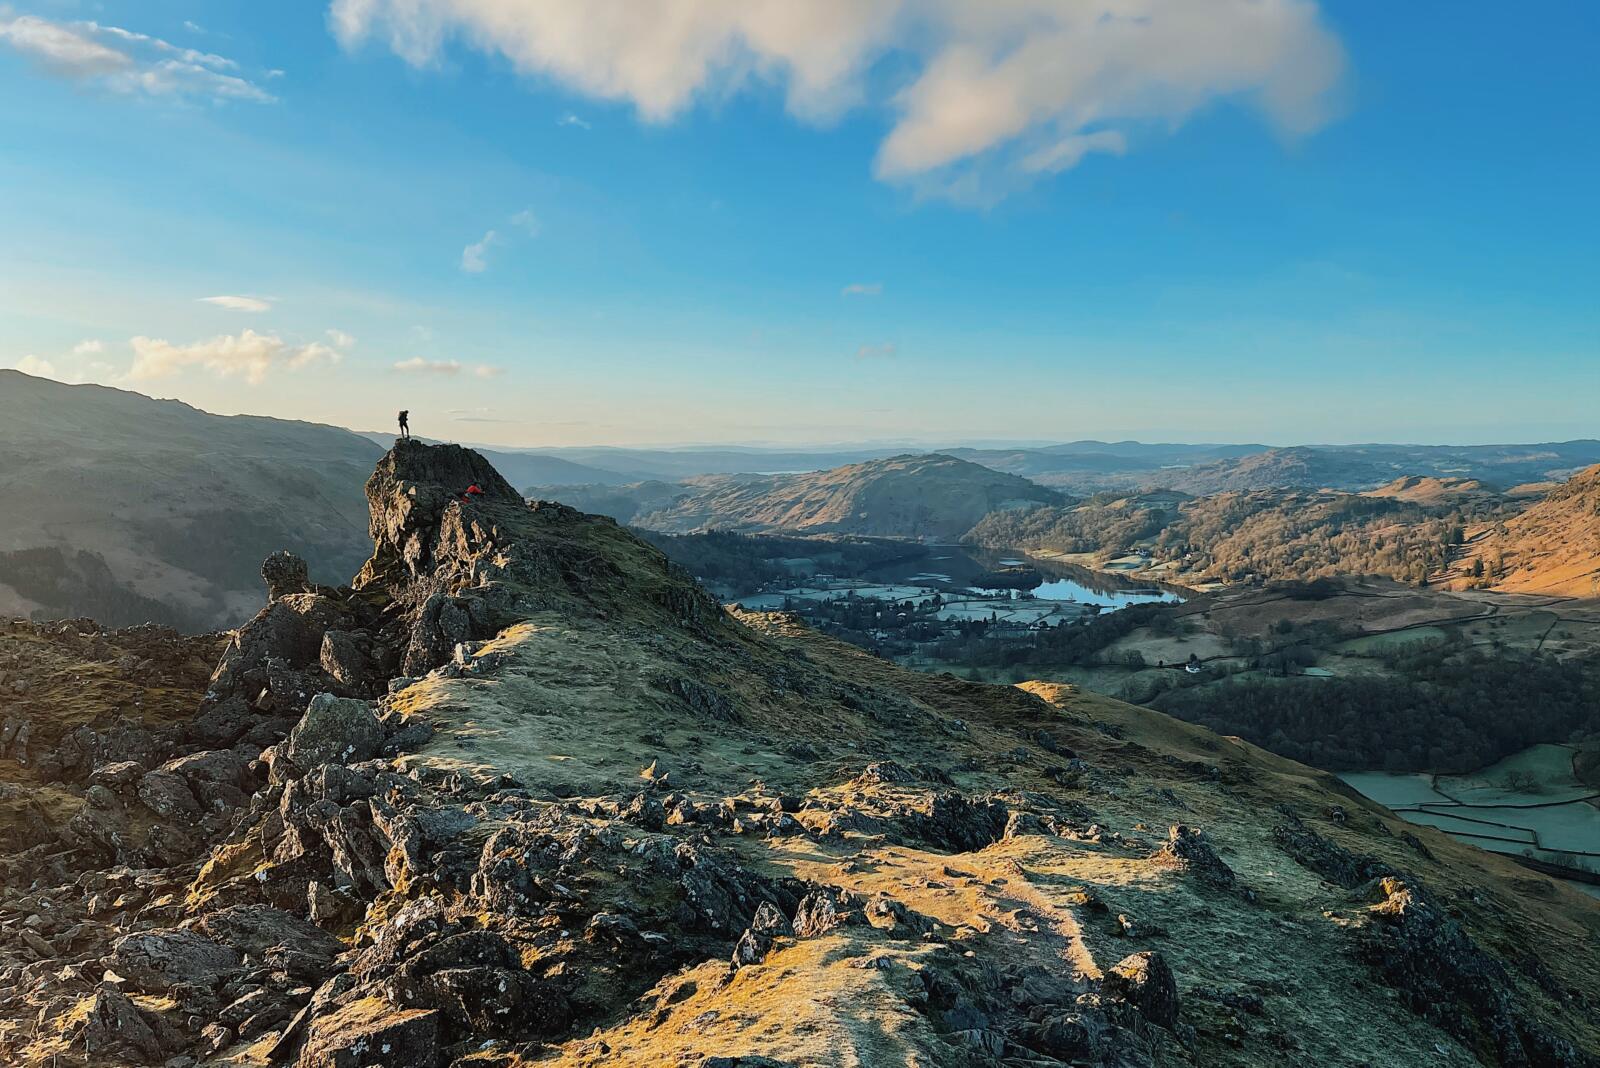
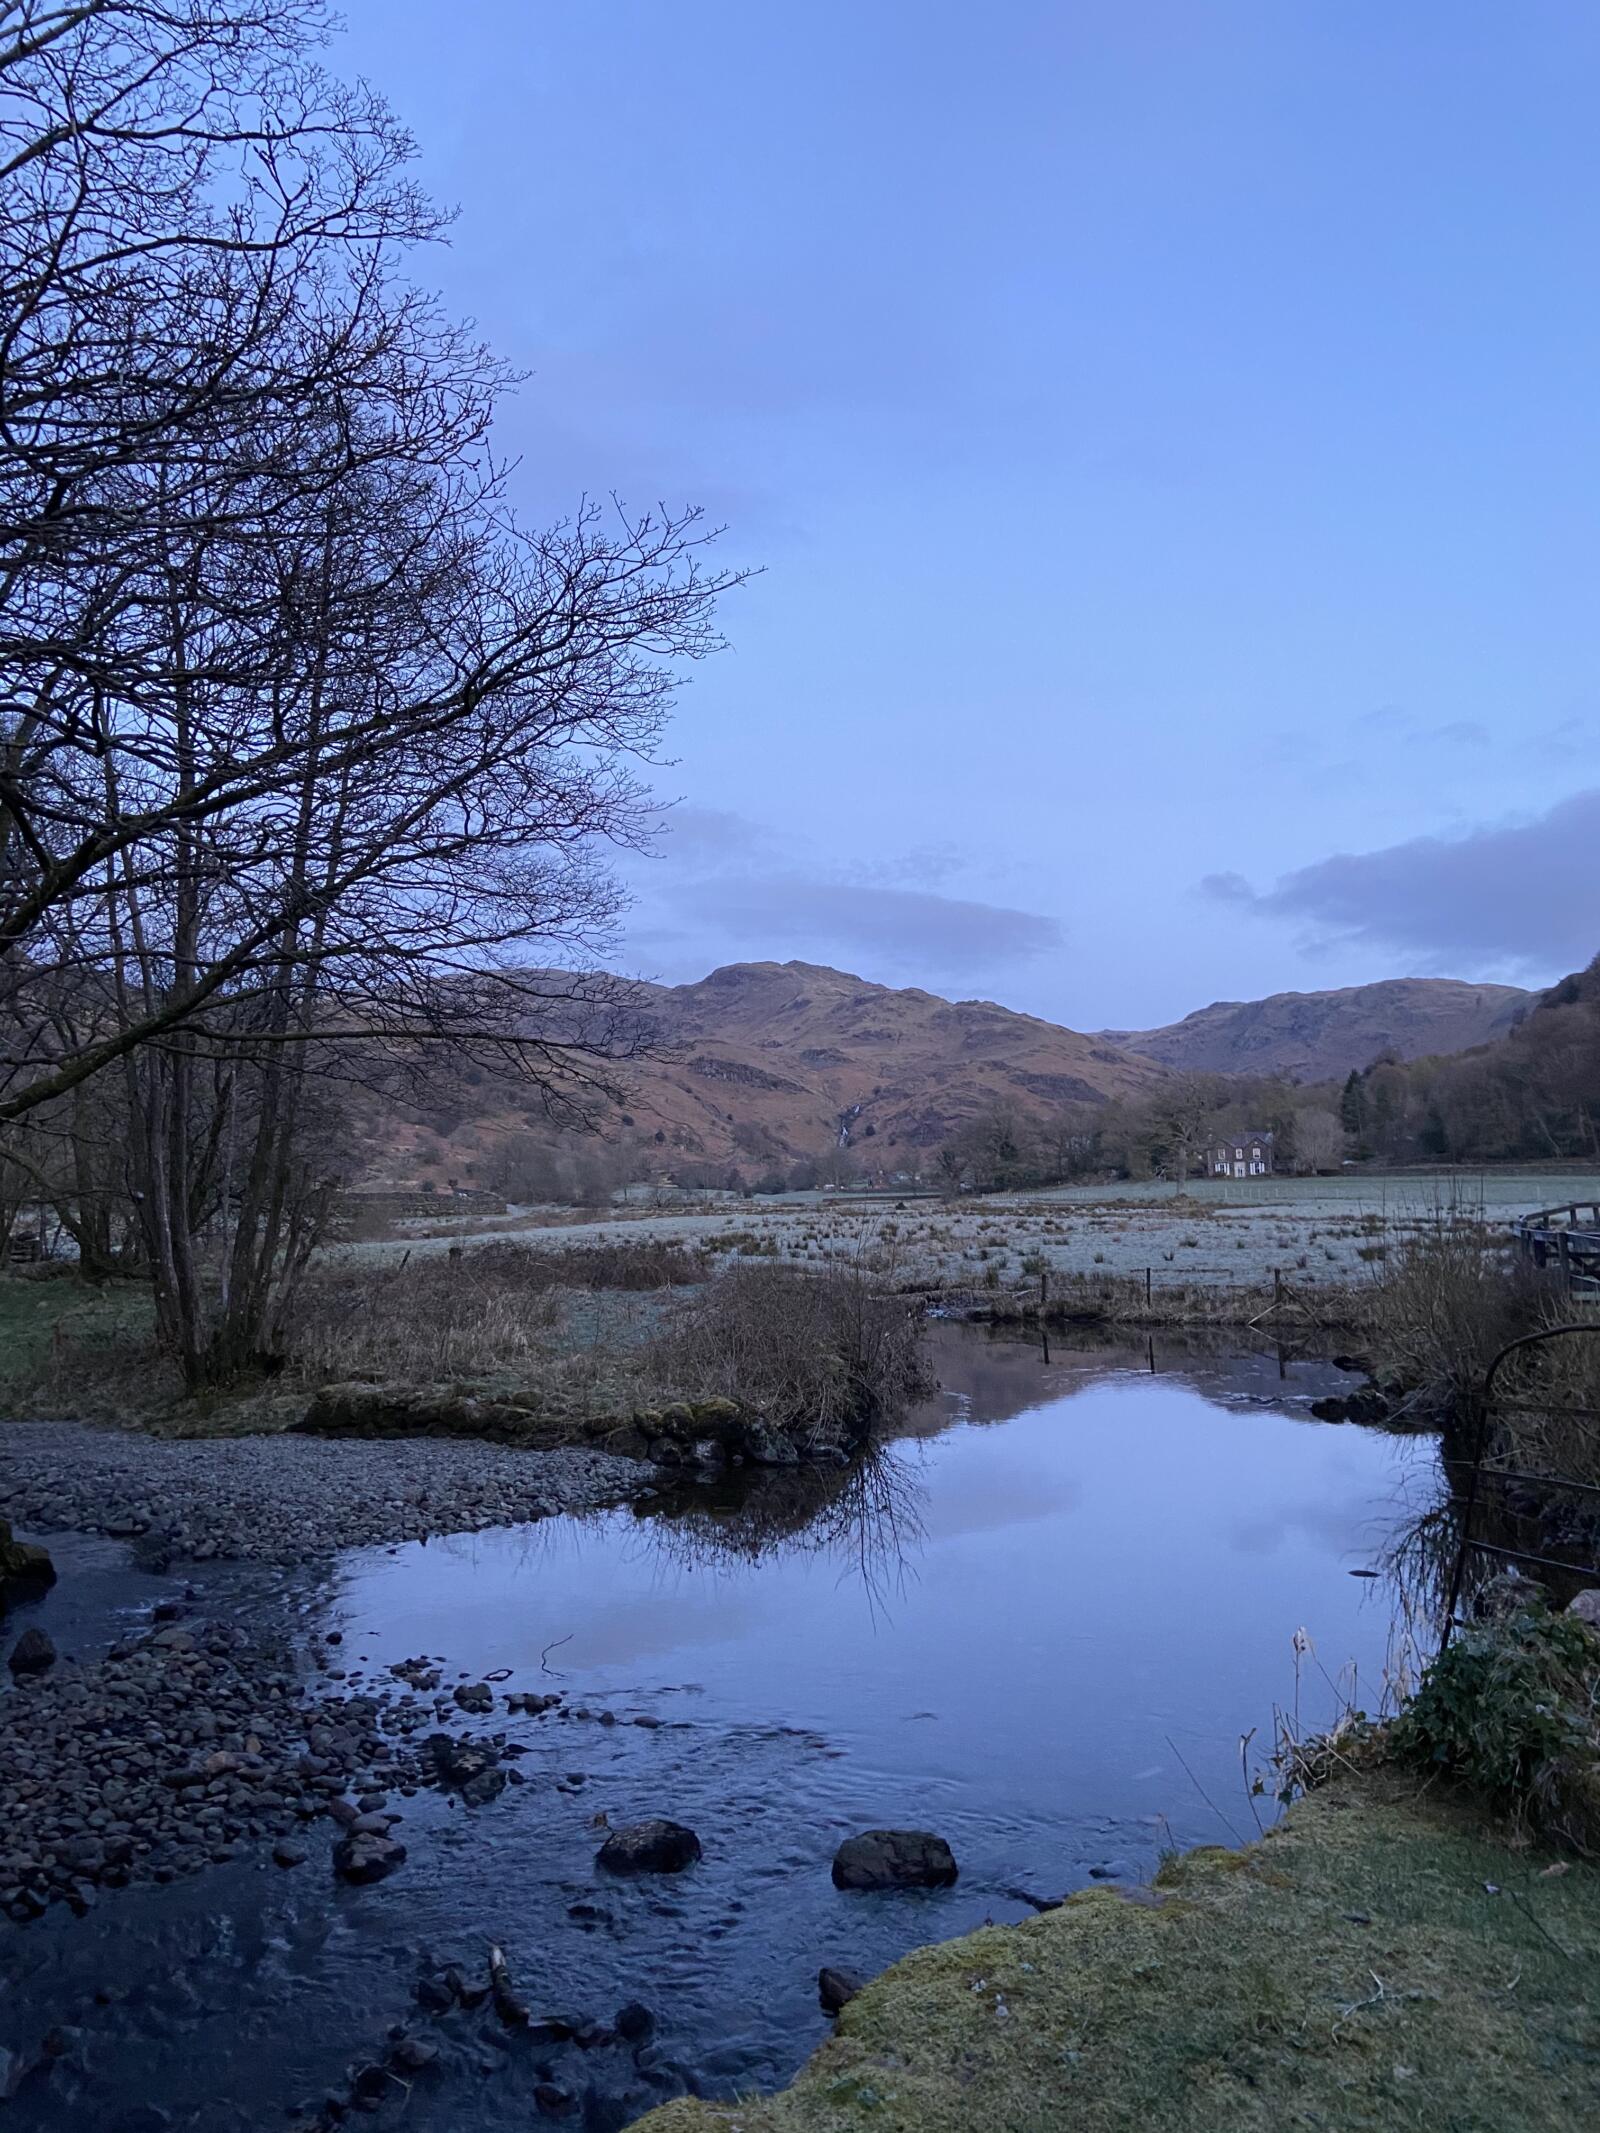
We met at the car park at 5:45am and made our way up, following the signs to Easedale Tarn and then on to Helm Crag. It only took us around an hour to make it to the top and for an hour walking the views were just incredible. You can see over to Helvellyn, the Langdales and beyond! We spent a good hour up there, taking lots of photographs and then sitting down with a hot chocolate and hot Vimto watching the sunrise. It was just so peaceful and quiet, which always makes morning hikes all the more special because not many people tend to be out.
This blog post features affiliate links.
Read the disclaimer about affiliate links here.
Photos in this post are taken by myself and Sarah.
The apps I use for editing
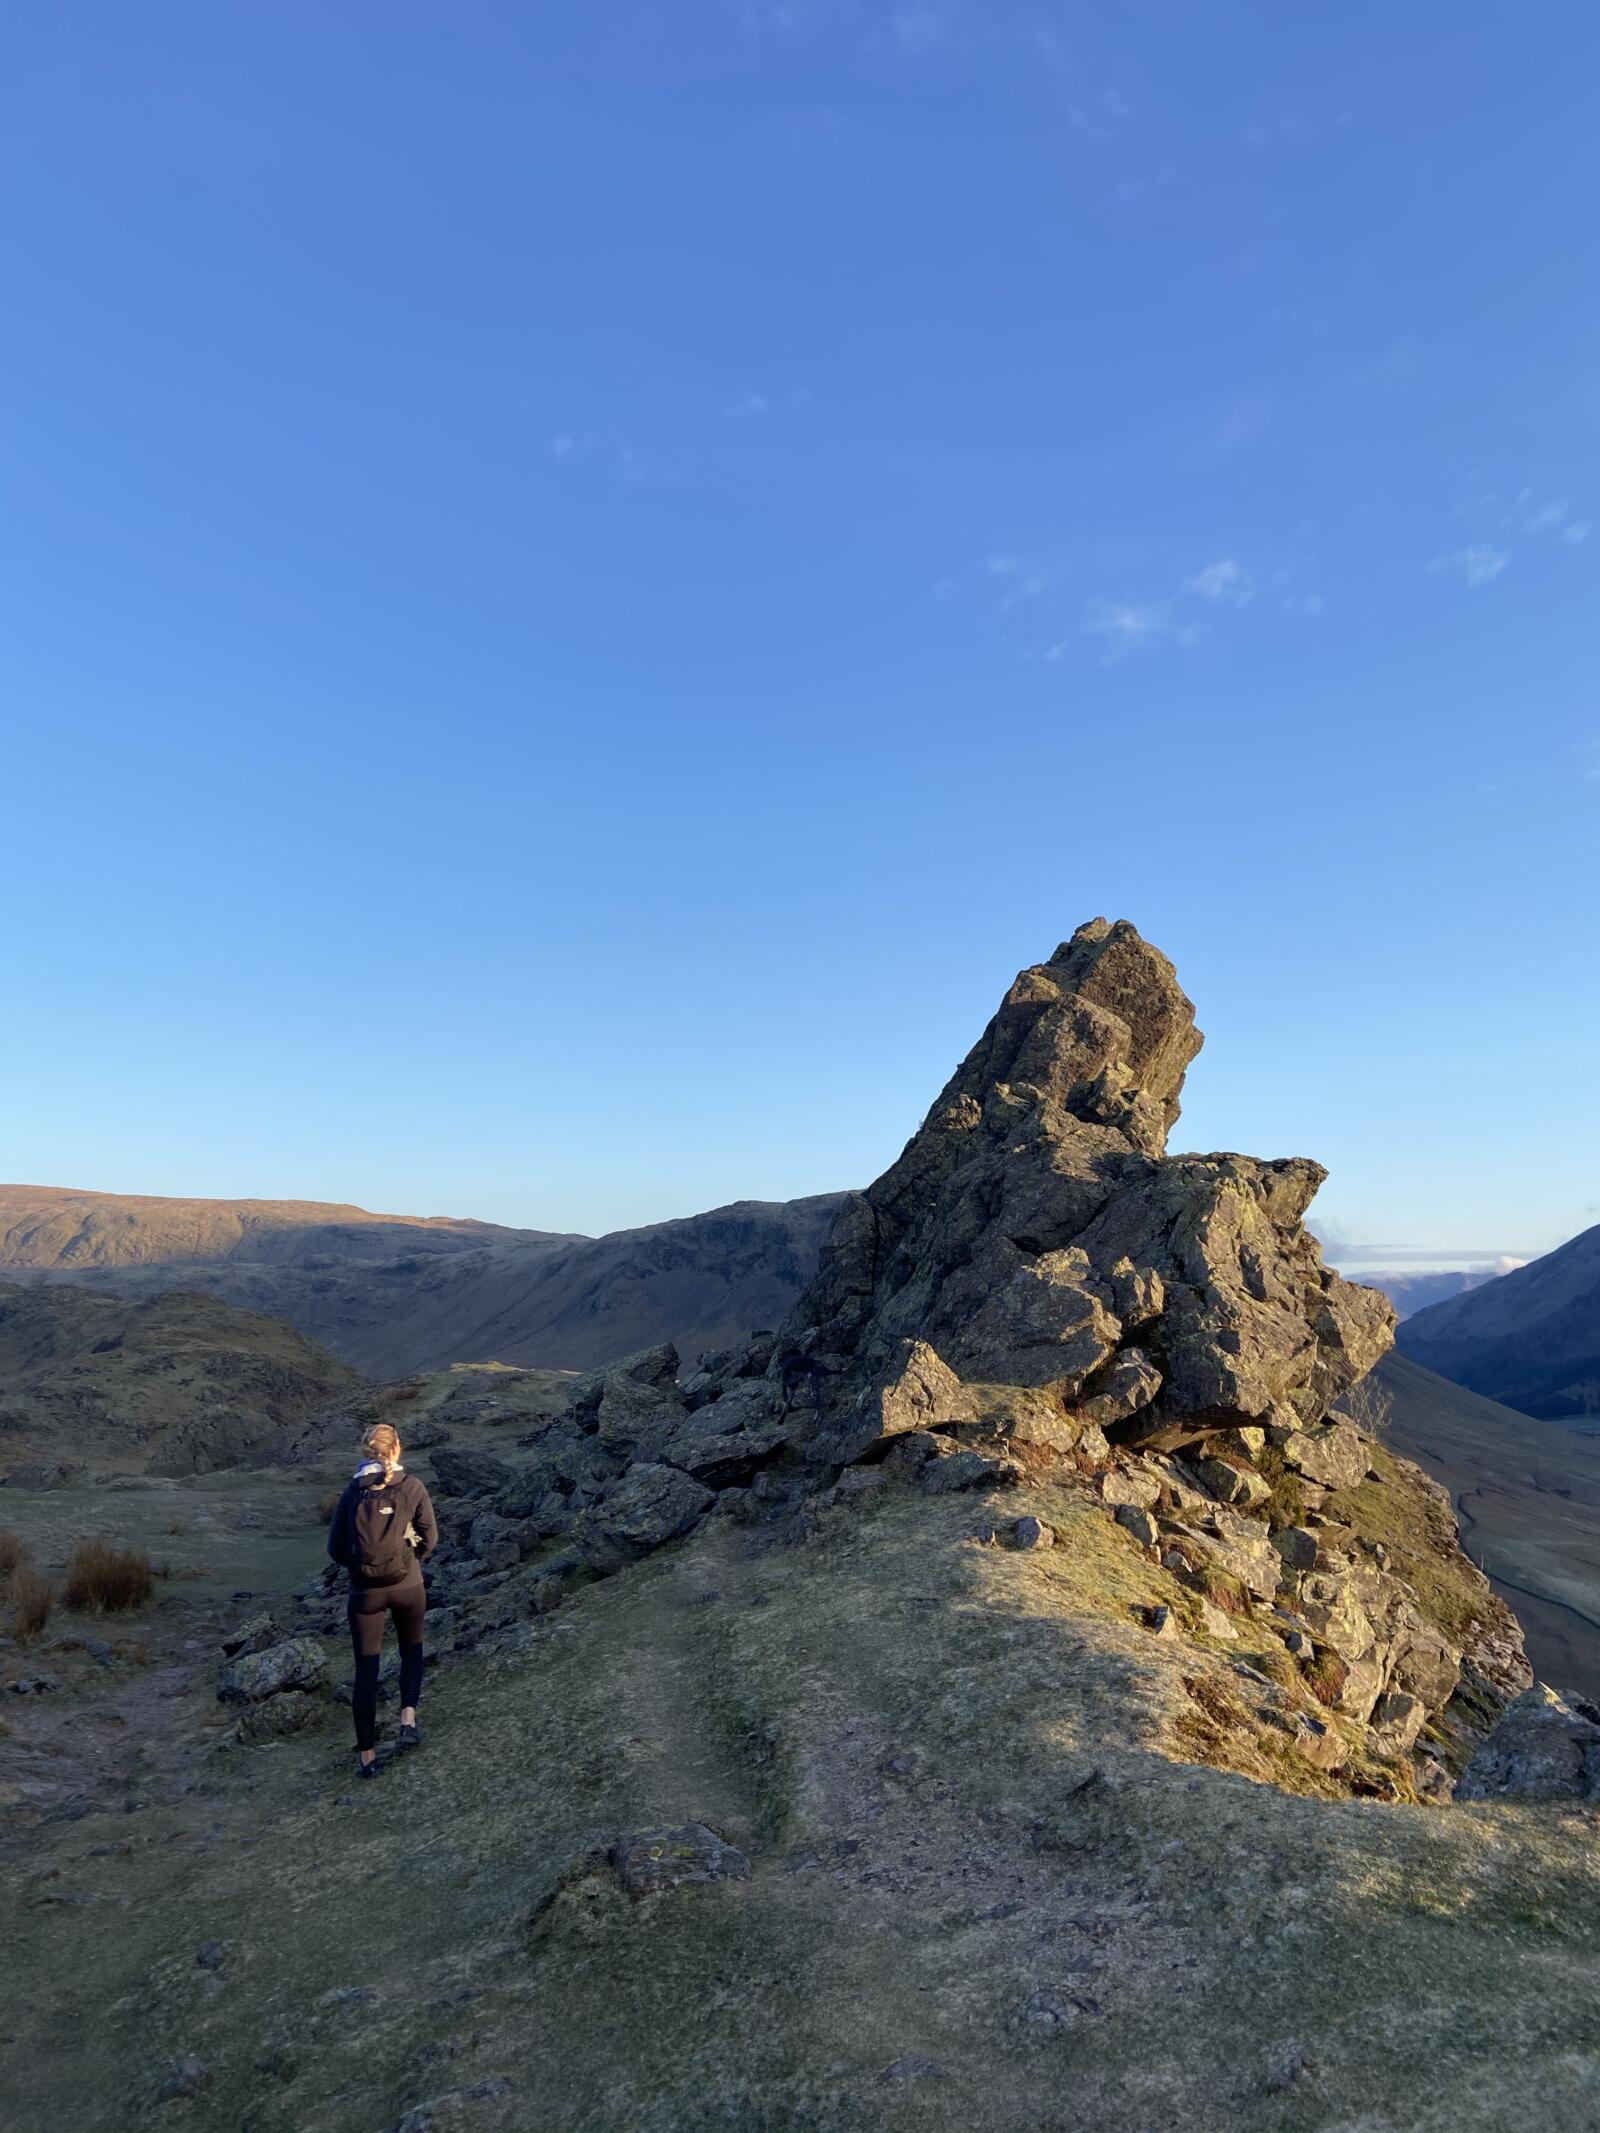
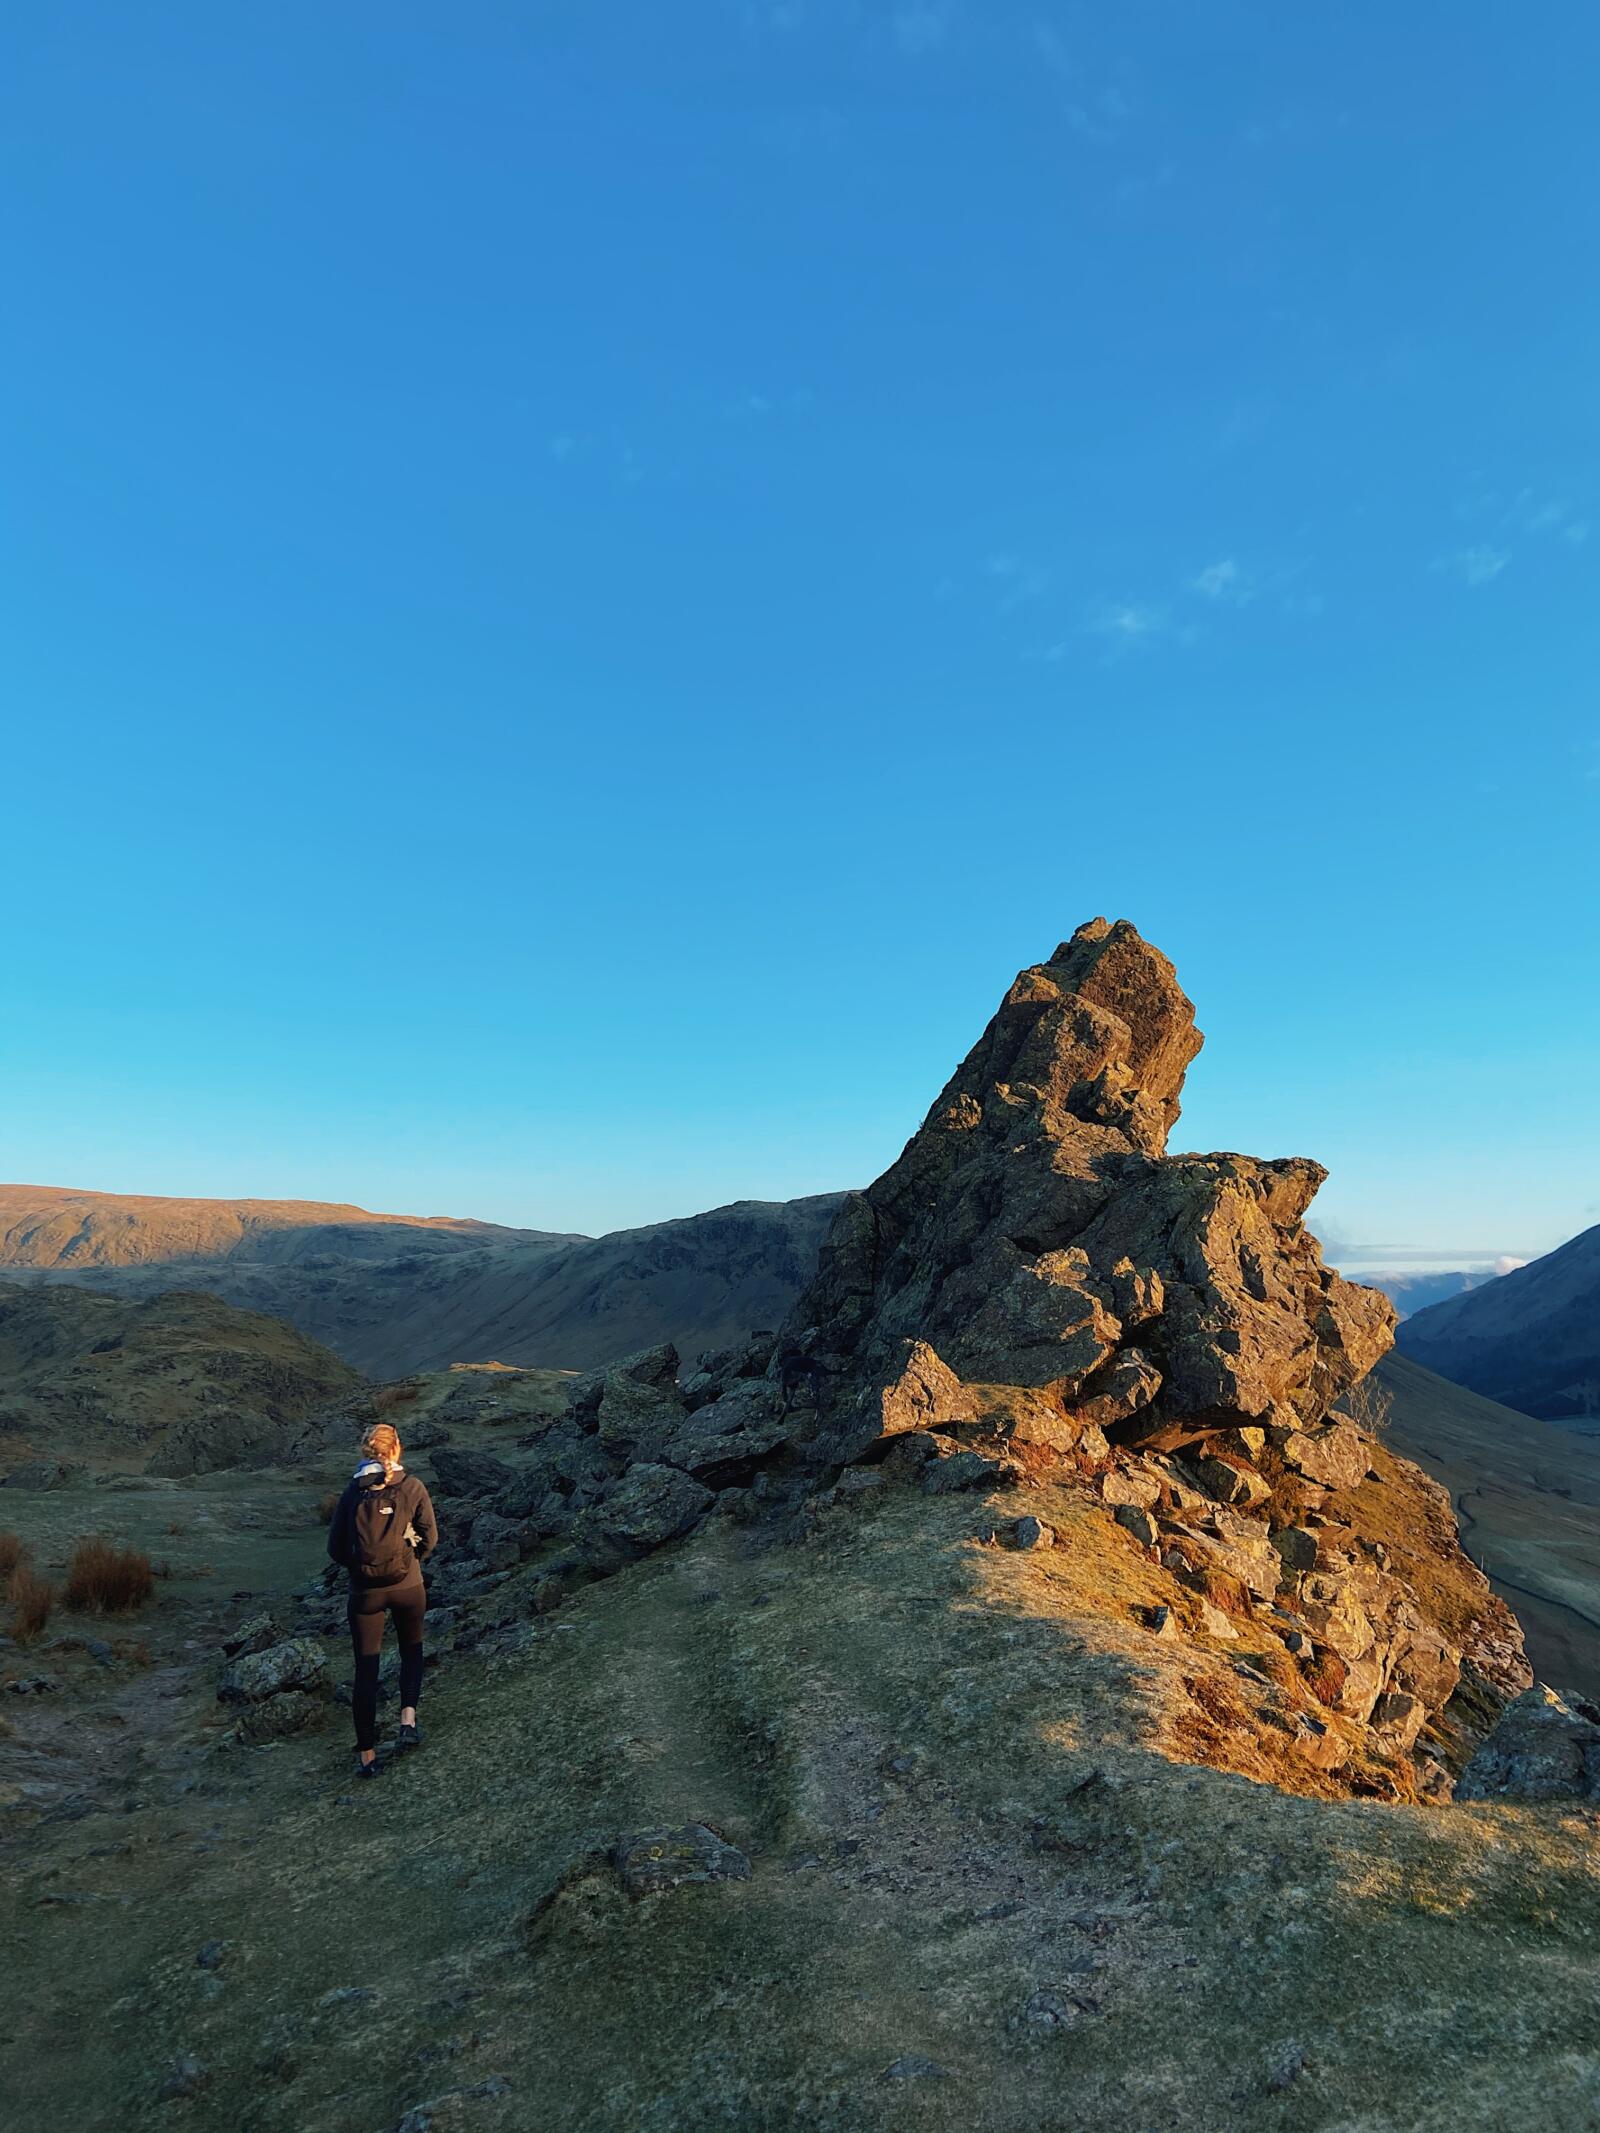
When I’m editing, I try to keep my photos as ‘real’ looking as possible but just more aesthetically pleasing. I use VSCO to edit all my photos, which I’ve used for years. It’s now a pay monthly/yearly app but when it first came out you could actually buy collections of presets. It’s a very easy app to navigate and you can even upload your photos on to your own profile, similar to Instagram.
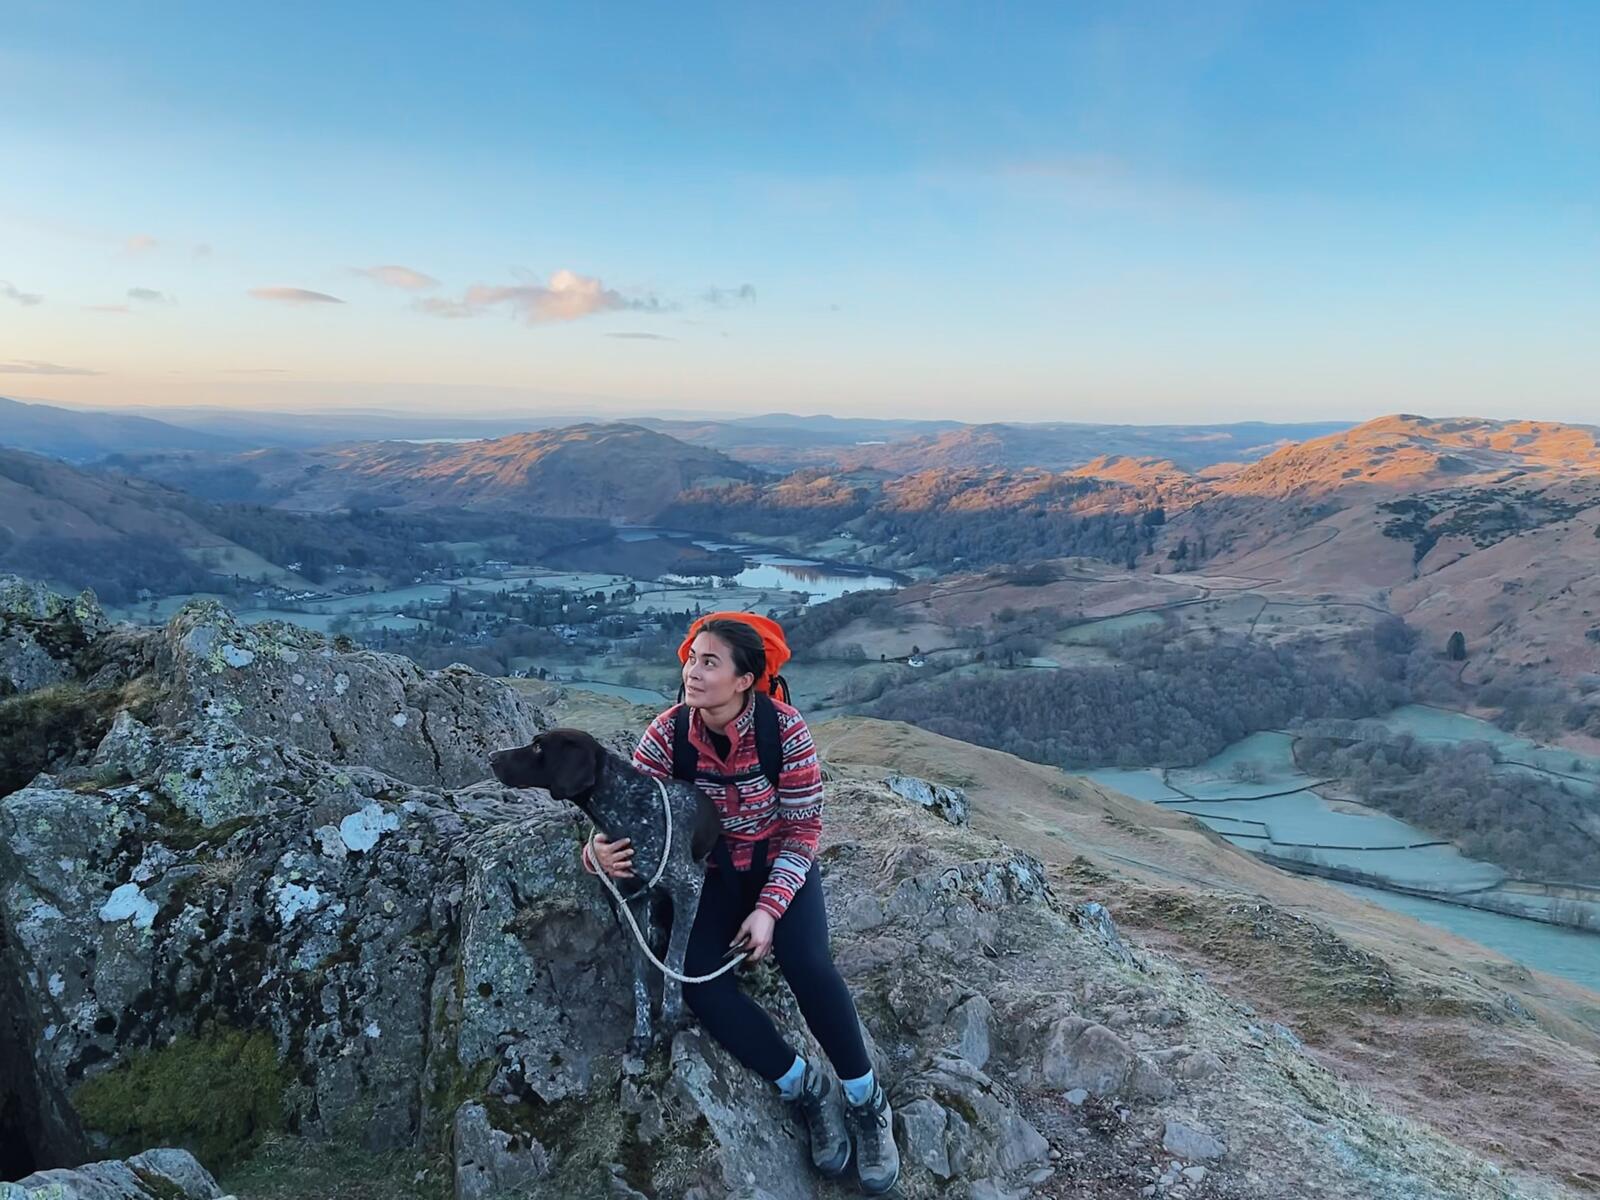
My favourite walking gear

Which preset?
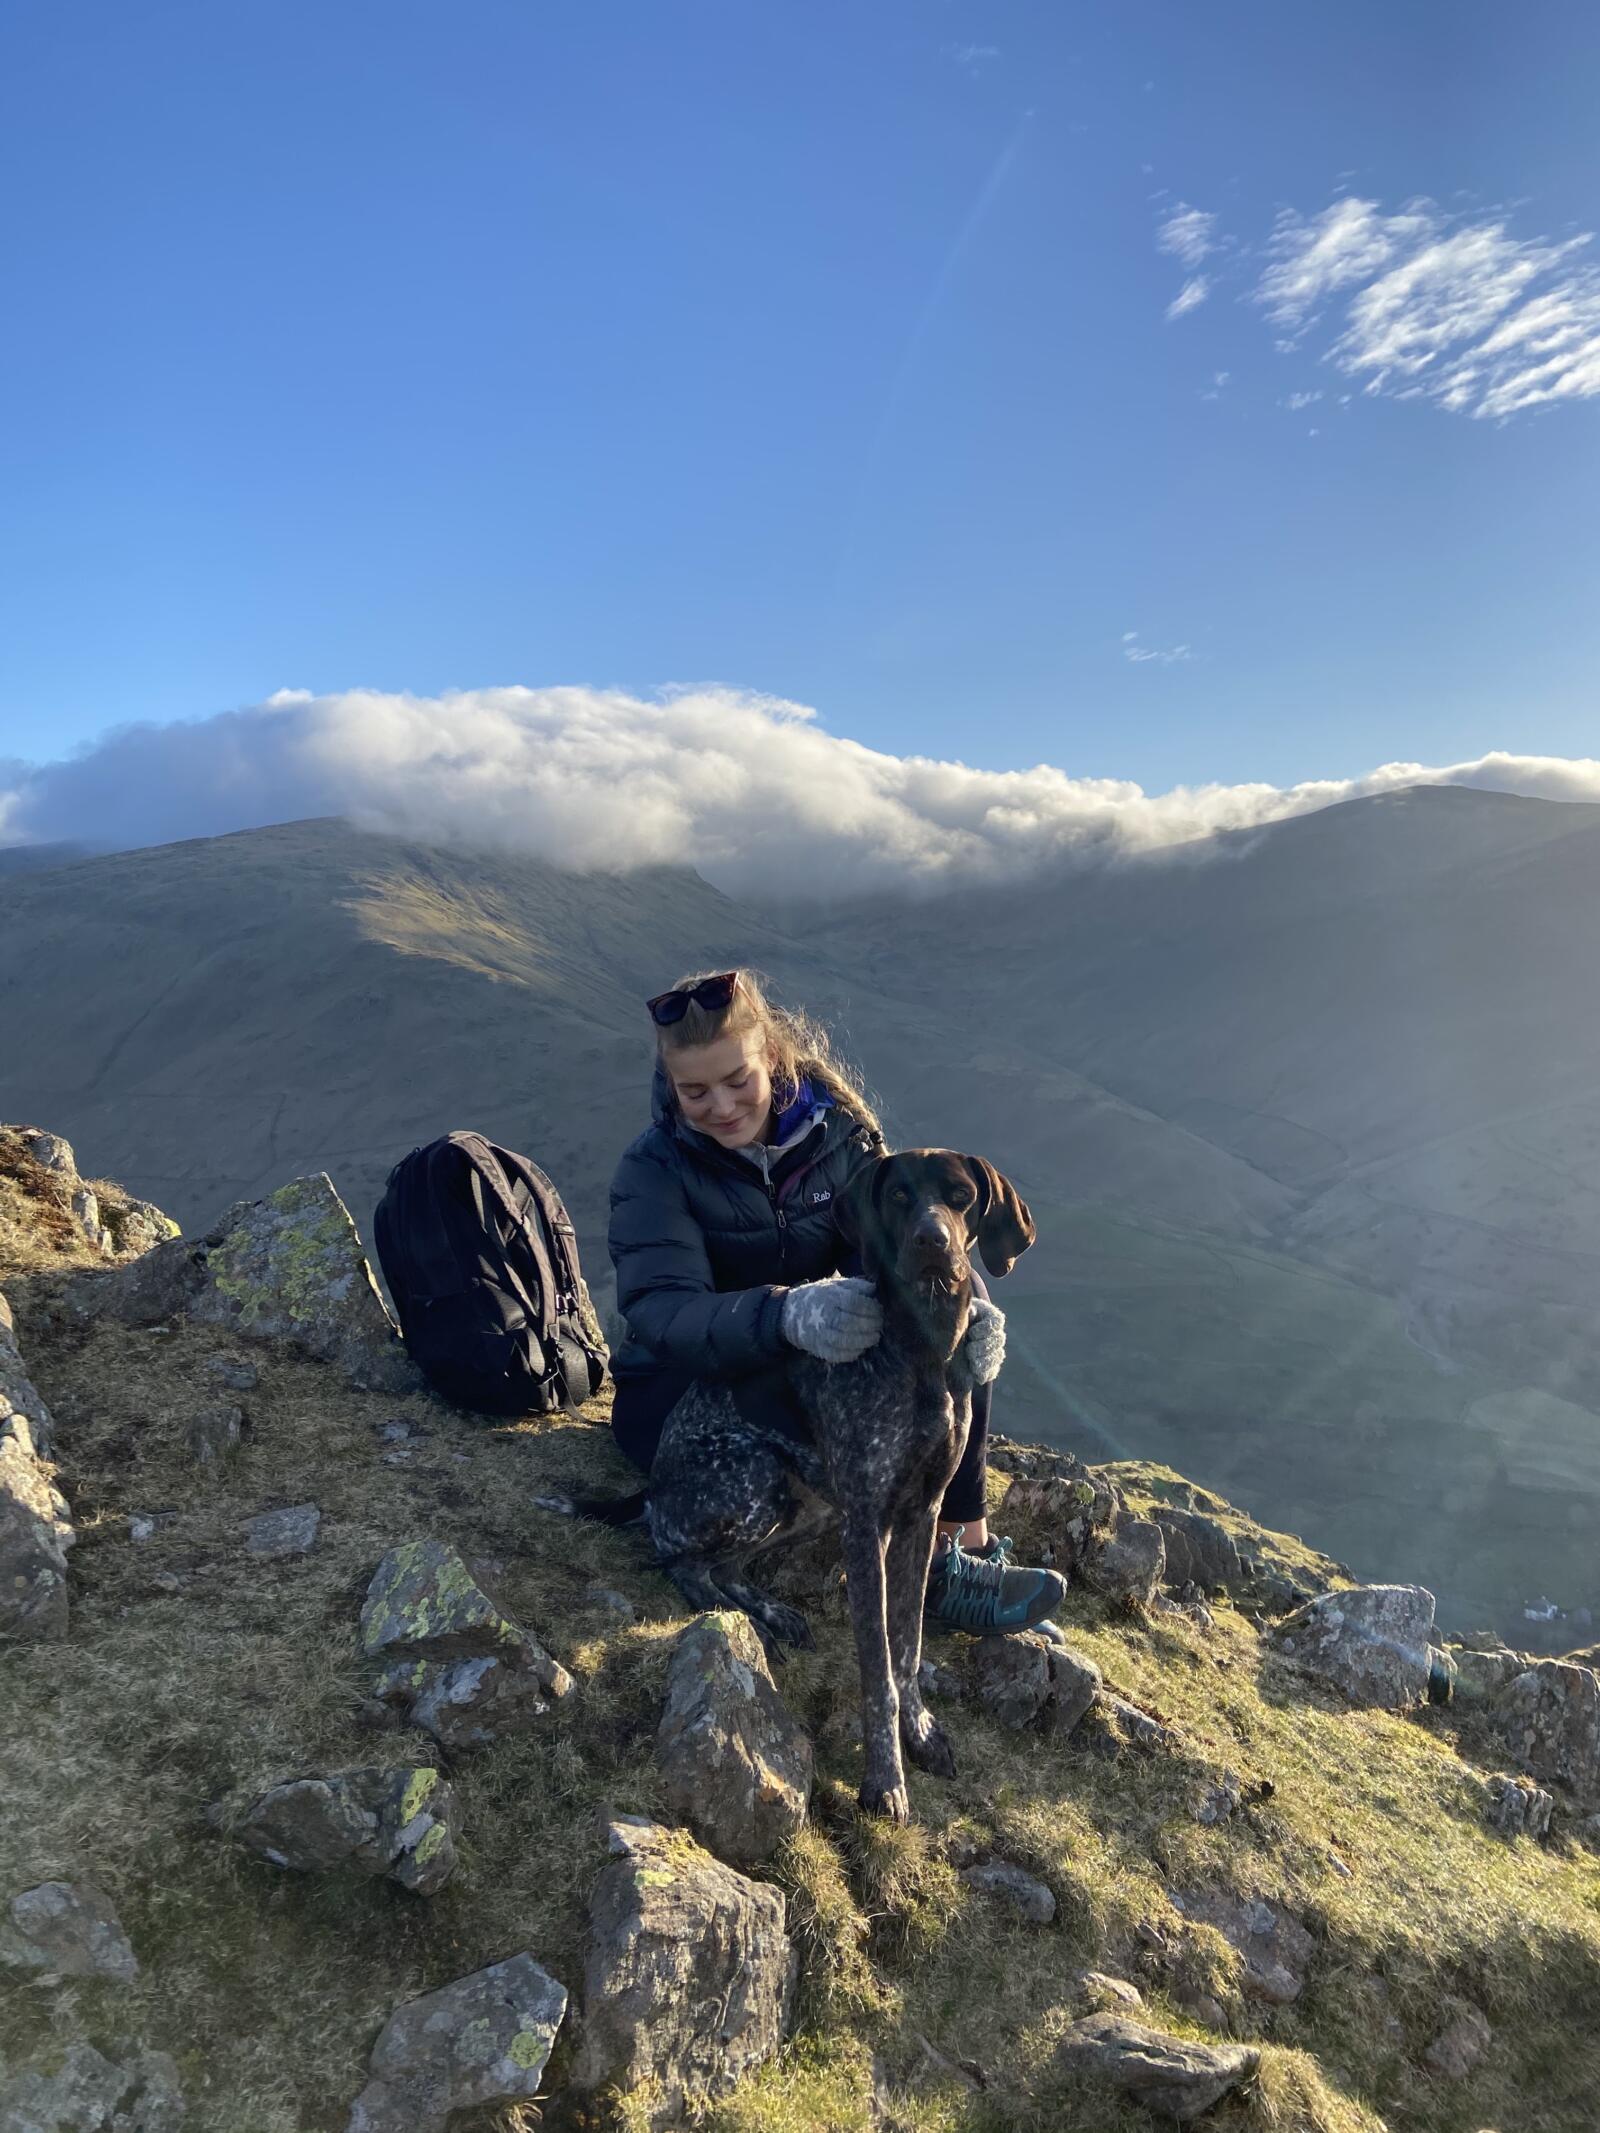
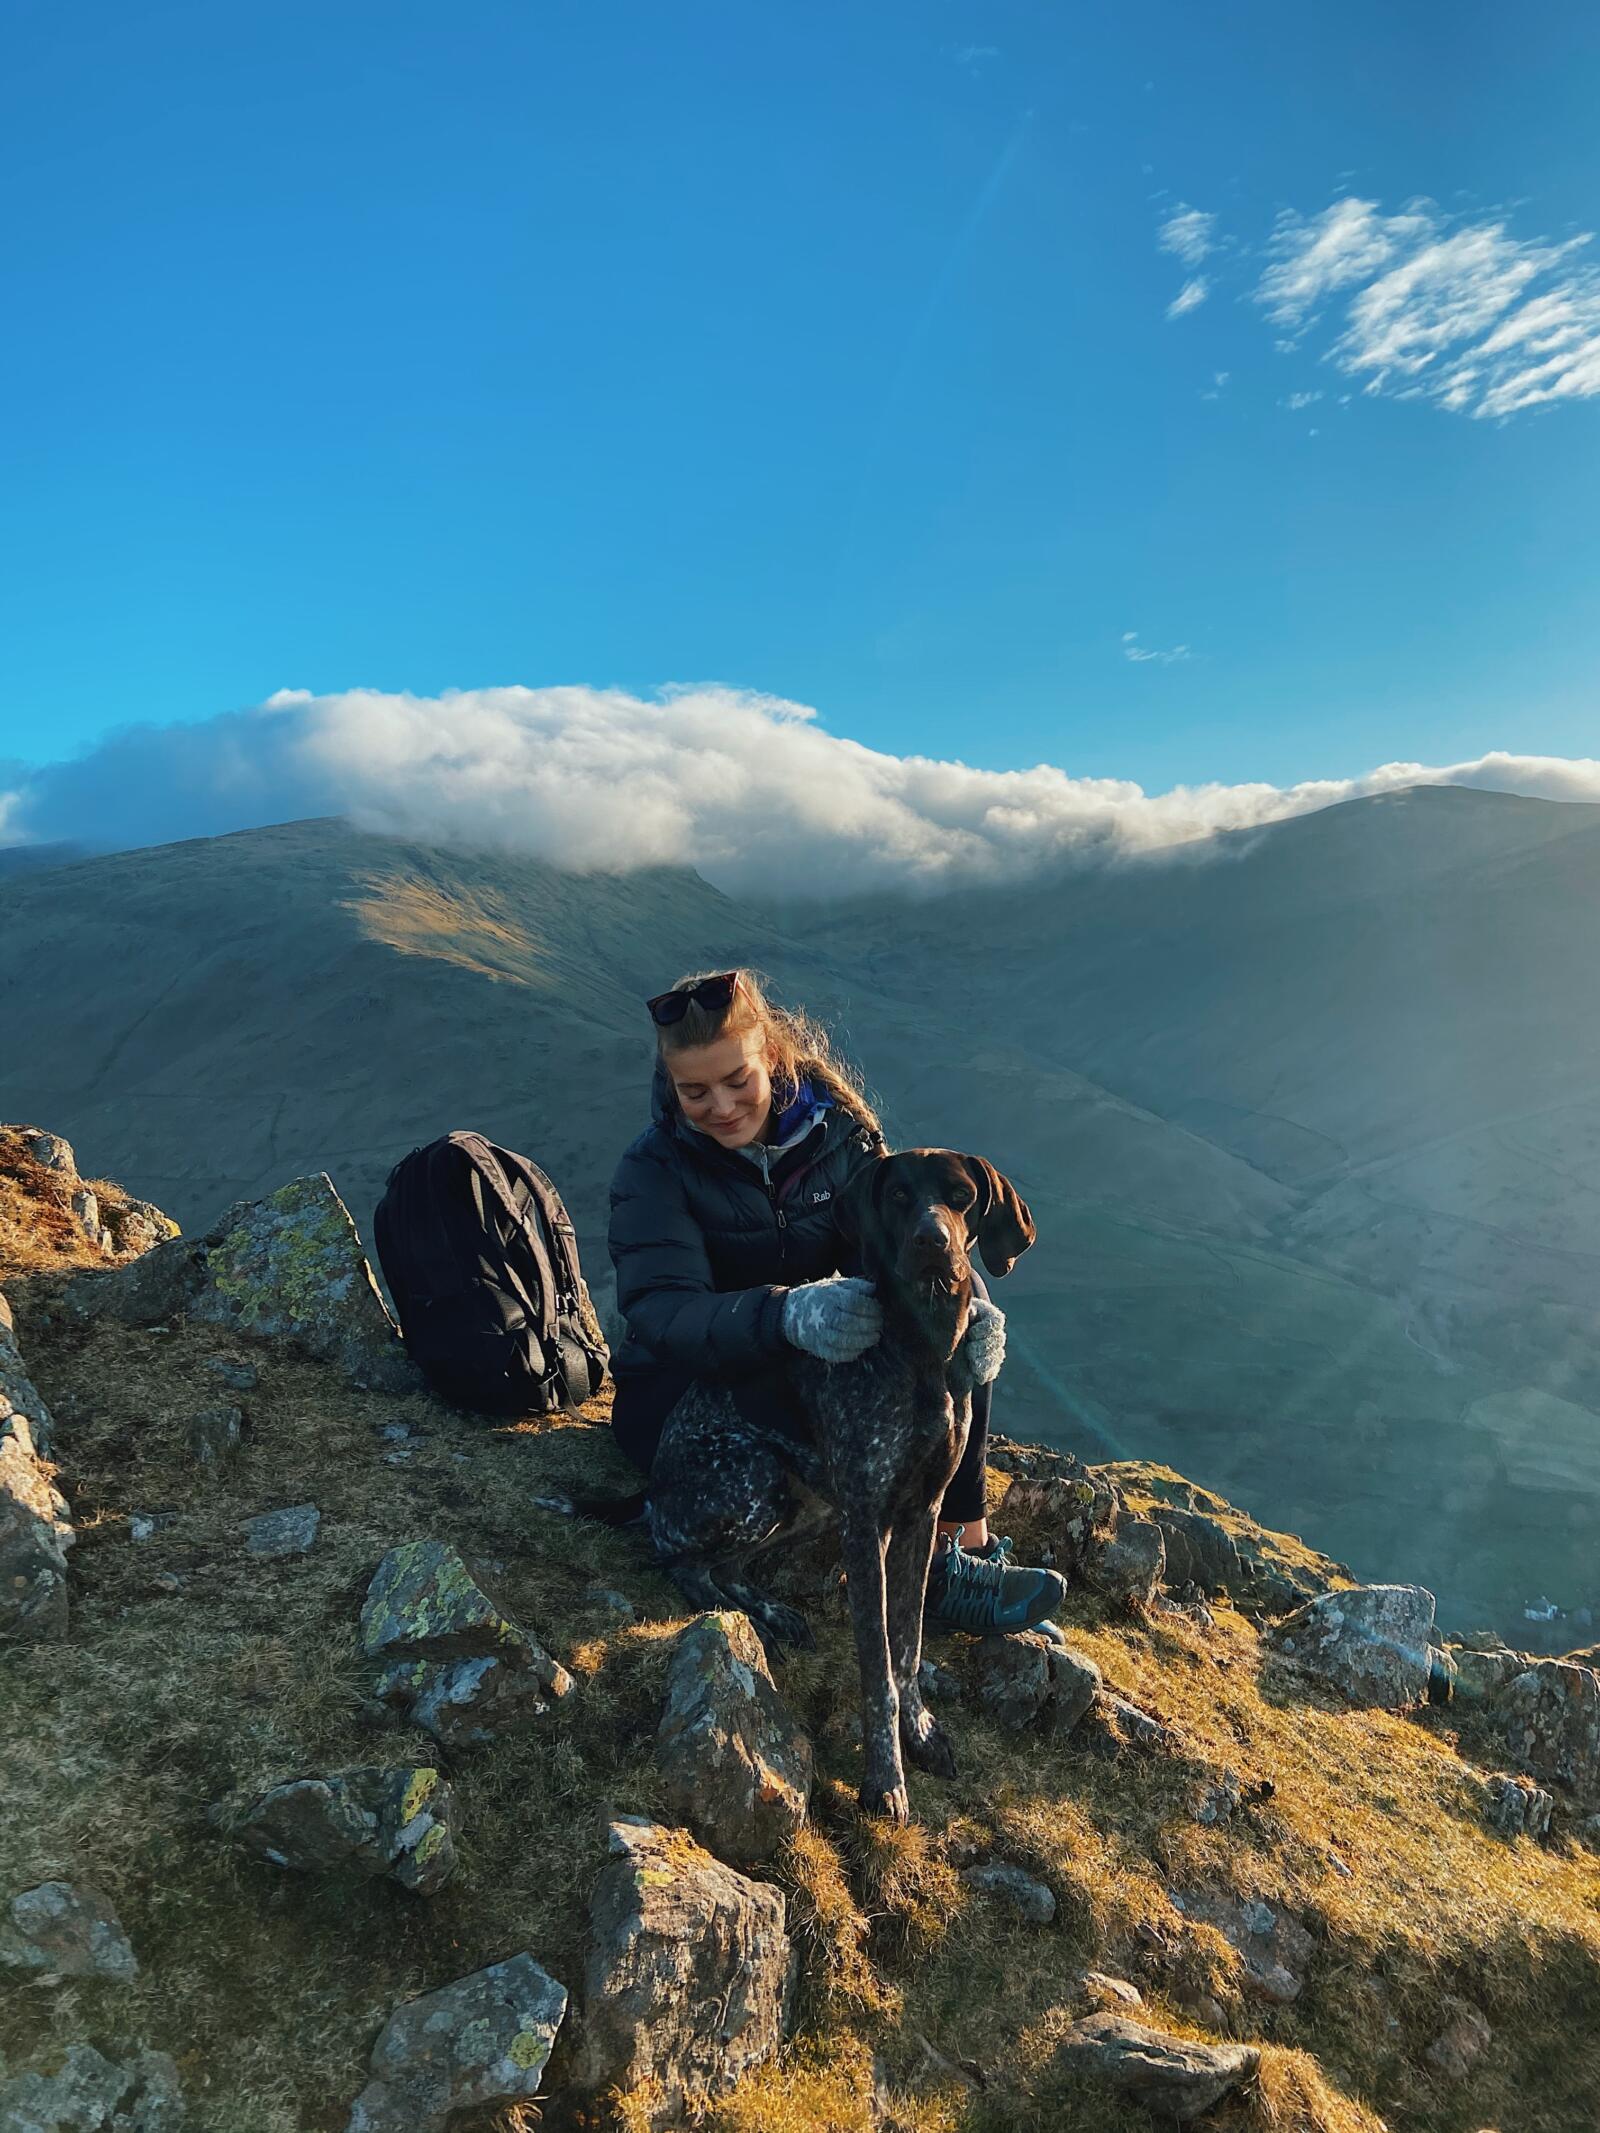
Sometimes I check the ‘for this photo‘, where VSCO give you a couple of suggested filters for the photo you are editing, but usually I use C7, which is quite vibrant. However, it often makes some photos looks quite cold which I never really knew how to adjust before.. until I discovered white balance. Using this filter can help you adjust how yellow or blue the image is, as well as how green or pink the image is. In this photo I upped the yellow and the pink, to make it more dreamy.

Tools I use
Once I’ve chosen the filter and got the colours right, I make sure that the image is straight by using the adjust tool. One of my pet peeves with landscape photography is when a horizon, such as the sea, a lake, a field etc. are at an angle. This is a little hard to explain but if you’d like me to go in to more detail on this one just let me know.
Then I go in with the sharpness tool. I often up this a little if the image is a little grainy. You will find this when photographing in low level lighting. Sometimes over sharpening the image can look a bit over edited too, so I tend to stick around the 2.5-3 mark
The exposure of an image is something I always play around with too. I will often bring the exposure down a little as I prefer a darker image to a lighter image.

Posting to Instagram
Whenever I’m posting to Instagram I often play with the shadow and the highlight tool. Both of which you can’t do in the VSCO app. This just adds a little more depth to the images which I like. I don’t do this for my blog though as I don’t think it really needs it.